Exercise 8: Understanding RBAC in Ansible Tower
Read this in other languages:  English,
  日本語.
日本語.
Table of Contents
Objective
One of the key benefits of using Ansible Tower is the control of users that use the system. The objective of this exercise is to understand Role Based Access Controls(RBACs) with which Tower admins can define tenancies, teams, roles and associate users to those roles. This gives organizations the ability to secure the automation system and satisfy compliance goals and requirements.
Guide
Lets review some Ansible Tower terminology:
- Organizations: Defines a tenancy for example Network-org, Compute-org. This might be reflective of internal organizational structure of the customer’s organization.
- Teams: Within each organization, there may be more than one team. For instance tier1-helpdesk, tier2-support, tier3-support, build-team etc.
- Users: Users typically belong to teams. What the user can do within Tower is controlled/defined using roles
- Roles: Roles define what actions a user may perform. This can map very nicely to typical network organizations that have restricted access based on whether the user is a Level-1 helpdesk person, Level-2 or senior admin. Tower documentationdefines a set of built-in roles.
For more in depth details on RBAC terminology please refer to the documentation
Step 1: Opening up Organizations
-
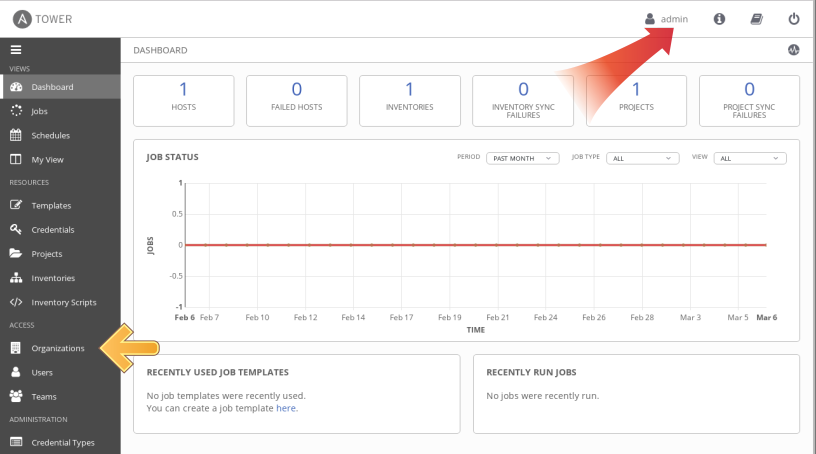
Login to Ansible Tower with the admin user.
Parameter Value username adminpassword provided by instructor -
Confirm that you are logged in as the admin user.
-
Under the ACCESS section, click on Organizations
As the admin user, you will be able to view all organizations configured for Ansible Tower:
Note: The orgs, teams and users were auto-populated for this workshop
-
Examine the organizations
There are 2 organizations (other than Default):
- RED HAT COMPUTE ORGANIZATION
- RED HAT NETWORK ORGANIZATION
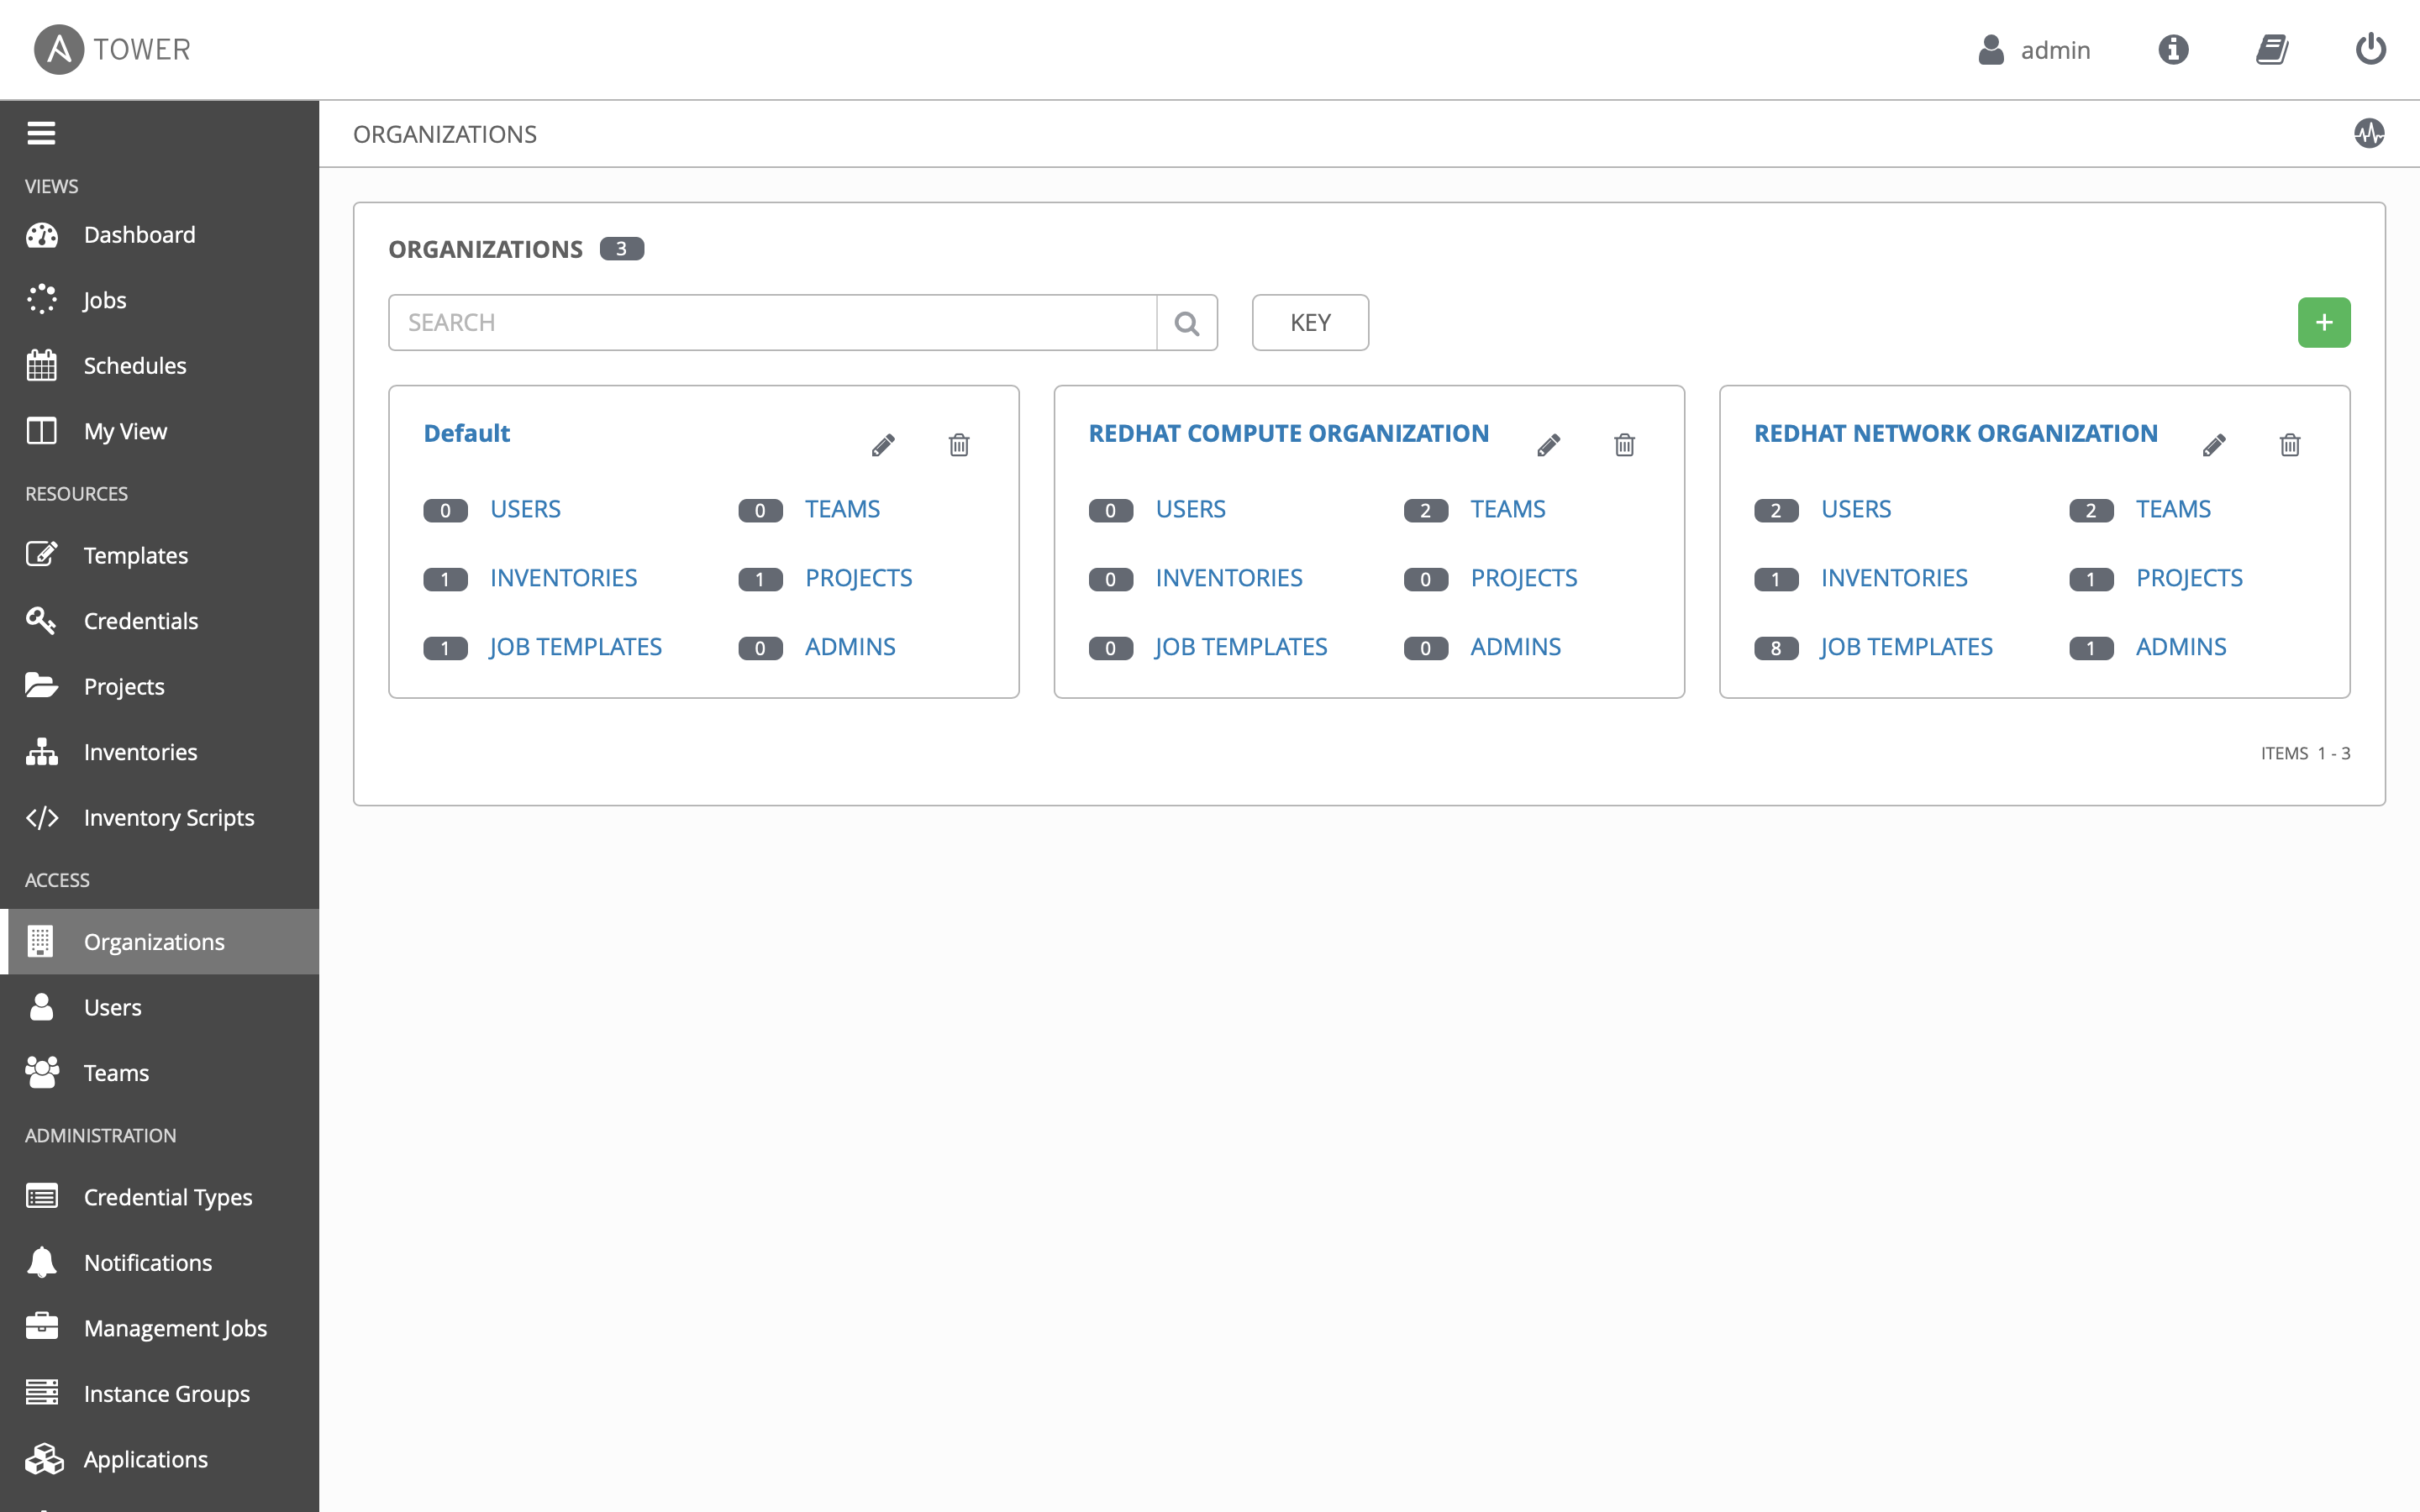
Observe that this page gives you a summary of all the teams, users, inventories, projects and job templates associated with it. If a Organization level admin is configure you will see that as well.
Step 2: Open the NETWORK ORGANIZATION
-
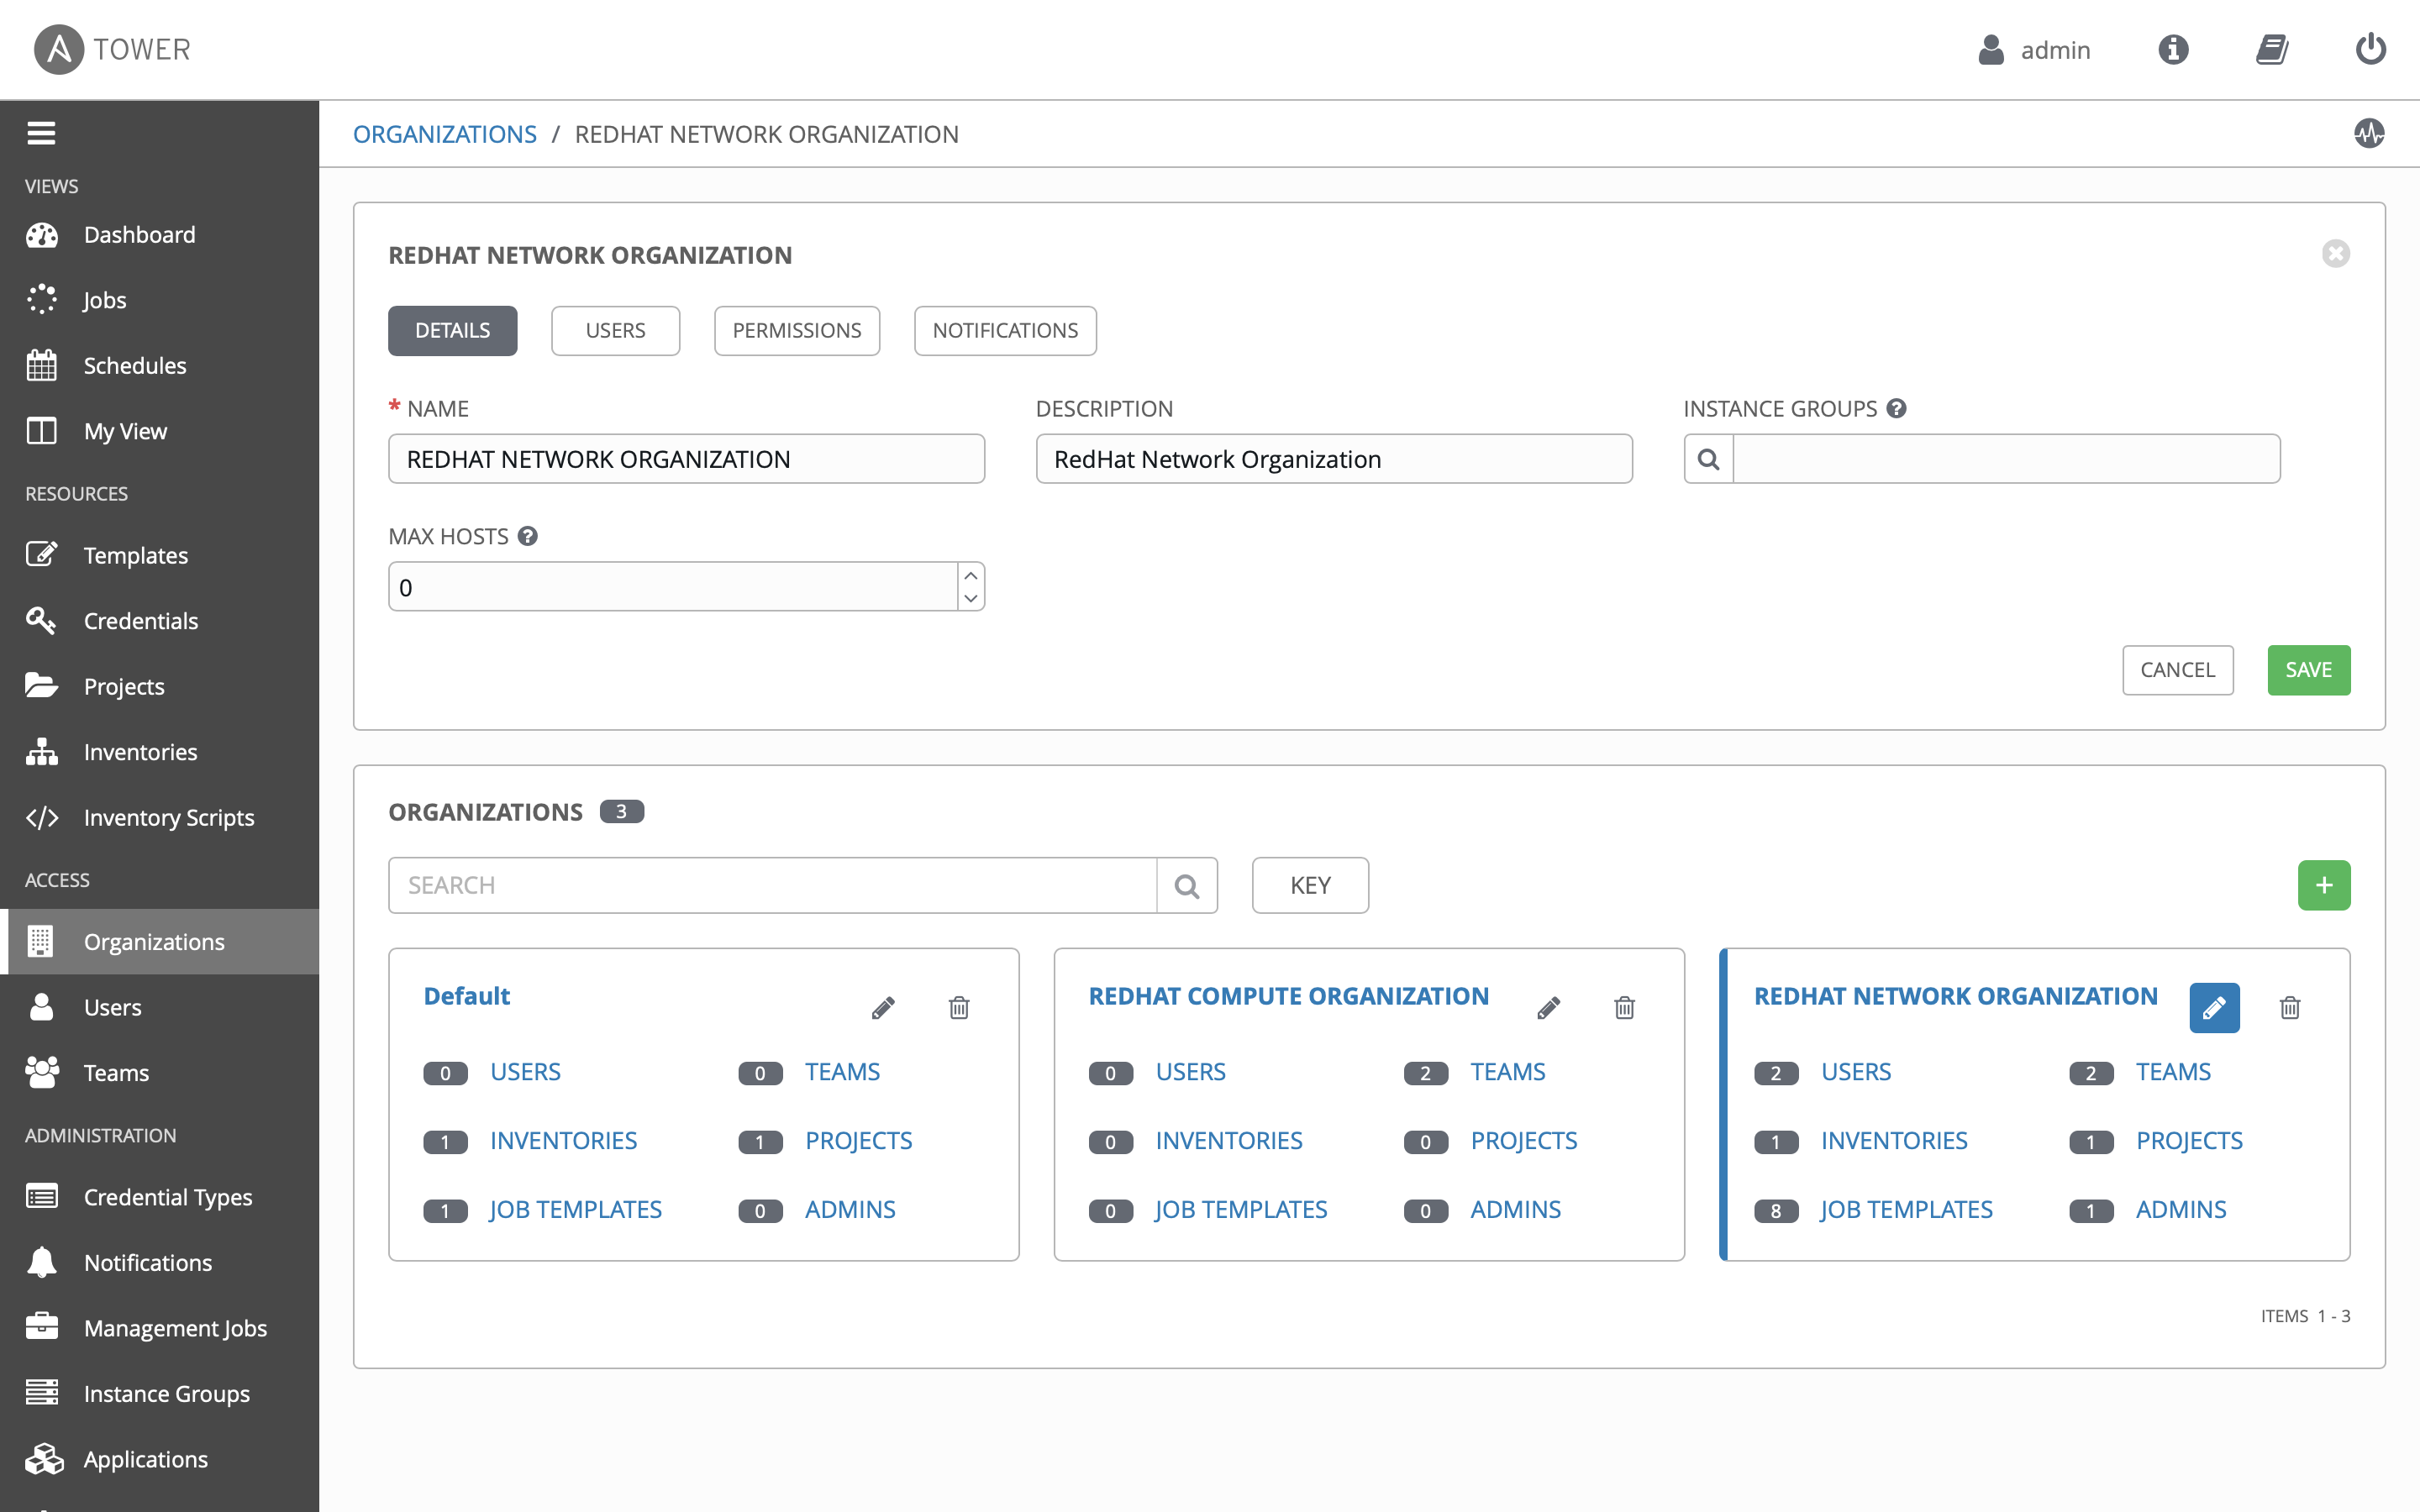
Click on the RED HAT NETWORK ORGANIZATION.
this brings up a section that displays the details of the organization.
-
Click on the USERS button to see users associated with this organization.
Observe that both the network-admin and network-operator users are associated with this organization.
Step 3: Examine Teams
-
Click on TEAMS in the sidebar

-
Examine the teams. The Ansible Tower admin will be able to see all available teams. There are four teams:
- Compute T1
- Compute T2
- Netadmin
-
Netops

Step 4: Examine the Netops Team
-
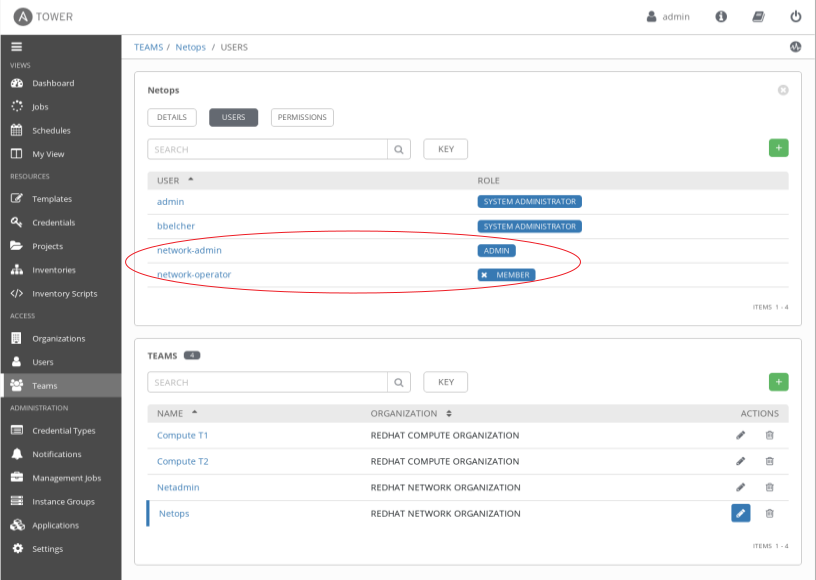
Click on the Netops Team and then click on the USERS button. Pay attention to 2 particular users:
- network-admin
- network-operator
-
Observe the following two points:
- The network-admin user has administrative privileges for the RED HAT NETWORK ORGANIZATION organization.
- The network-operator is simply a member of the Netops team. We will log in as each of these users to understand the roles
Step 5: Login as network-admin
-
Log out from the admin user by clicking the power symbol button in the top right corner of the Ansible Tower UI:
Power Symbol:

-
Login to the system with the network-admin user.
Parameter Value username network-admin password provided by instructor -
Confirm that you are logged in as the network-admin user.
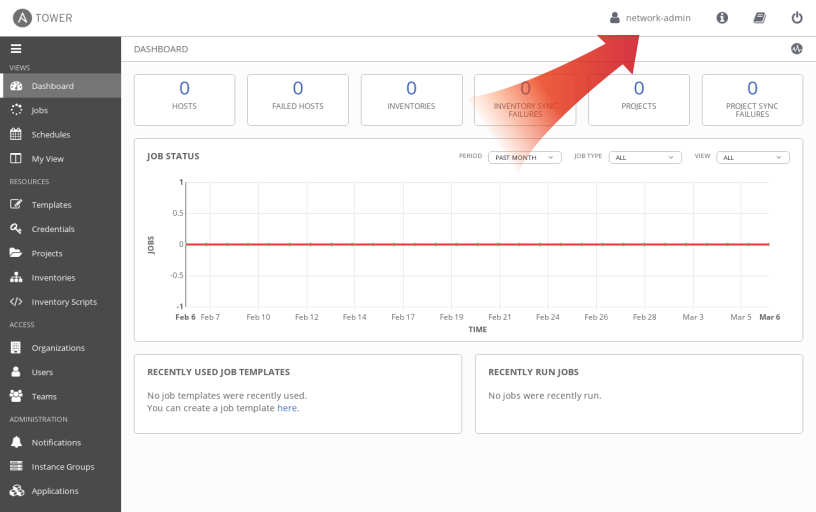
-
Click on the Organizations link on the sidebar.
You will notice that you only have visibility to the organization you are an admin of, the REDHAT NETWORK ORGANIZATION.
The following two Organizations are not seen anymore:
- REDHAT COMPUTE ORGANIZATION
- Default
-
Bonus step: Try this as the network-operator user (same password as network-admin).
- What is the difference?
- As the network operator are you able to view other users?
- Are you able to add a new user or edit user credentials?
Step 6: Understand Team Roles
-
To understand how different roles and therefore RBACs may be applied, log out and log back in as the admin user.
-
Navigate to Inventories and click on the Workshop Inventory
-
Click on the PERMISSIONS button

-
Examine the permissions assigned to each user

Note the TEAM ROLES assigned for the network-admin and network-operator users. By assigning the USE Role, the network-operator user has been granted permission to use this particular inventory.
Step 7: Job Template Permissions
-
Click on the Templates button in the left menu
-
Click on the Network-Commands Job Template
-
Click on the PERMISSIONS button at the top

Note how the same users have different roles for the job template. This highlights the granularity operators can introduce with Ansible Tower in controlling “Who gets access to what”. In this example, the network-admin can update (ADMIN) the Network-Commands job template, whereas the network-operator can only EXECUTE it.
Step 8: Login as network-operator
Finally, to see the RBAC in action!
-
Log out at admin and log back in as the network-operator user.
Parameter Value username network-operatorpassword provided by instructor -
Navigate to Templates and click on the Network-Commands Job Template.

-
Note that, as the network-operator user, you will have no ability to change any of the fields.
Step 9: Launching a Job Template
-
Verify you are logged in as the
network-operatoruser -
Click on Templates link on the sidebar again
-
This time launch the Network-Commands template by clicking on the “rocket” icon:

-
You will be prompted by a dialog-box that lets you choose one of the pre-configured show commands.

-
Go ahead and choose a command and click ** Next**Launch to see the playbook being executed and the results being displayed.
Bonus Step
If time permits, log back in as the network-admin and add another show command you would like the operator to run. This will also help you see how the Admin Role of the network-admin user allows you to edit/update the job template.
Takeaways
- Using Ansible Tower’s powerful RBAC feature, you can see it is easy to restrict access to operators to run prescribed commands on production systems without requiring them to have access to the systems themselves.
- Ansible Tower can support multiple Organizations, multiple Teams and users. Users can even belong to multiple Teams and Organizations if needed. Something not covered in this exercise is that we do not need to manage users in Ansible Tower, we can use enterprise authentication including Active Directory, LDAP, RADIUS, SAML and TACACS+.
- If there needs to be an exception (a user needs access but not his entire team) this is also possible. The granularity of RBAC can be down to the credential, inventory or Job Template for an individual user.
Complete
You have completed lab exercise 8
Click here to return to the Ansible Network Automation Workshop